

TL;DR
For most foam board prints, add 0.125" (1/8") of bleed on every side and keep all critical text and logos at least 0.25" to 0.50" inside the trim line. If your board has grommets or drill holes, push important content at least 1" from the corners. Multiply those rules across your board dimensions using the simple formulas and reference table below, and you’ll avoid the white-edge surprise that ruins otherwise great prints.
Most bleed and margin guides online were written for business cards and brochures. They toss out generic numbers and call it a day. But foam board is a rigid substrate, not a sheet of paper. It gets cut by CNC routers and flatbed cutters that handle thick material differently than a paper guillotine. And when you add finishing options like grommets, drilled holes, or rounded corners, the standard advice falls short.
This guide is built specifically for foam board artwork. Whether you’re printing on 1/8", 3/16", or 1/2" foam core, the cutting process demands the same attention to bleed and safe margins. Get these numbers right and your prints come back clean. Get them wrong and you’re looking at white hairlines, chopped logos, or a full reprint.
Need someone to review your file before printing? Contact our team directly. Every order gets a manual file inspection and visual proof before production begins.
What Are Bleed, Trim Lines, and Safe Margins?
These three zones work together like nesting boxes. Understanding how they relate, from the outside edge inward, is the foundation for setting up any foam board file correctly.
Bleed
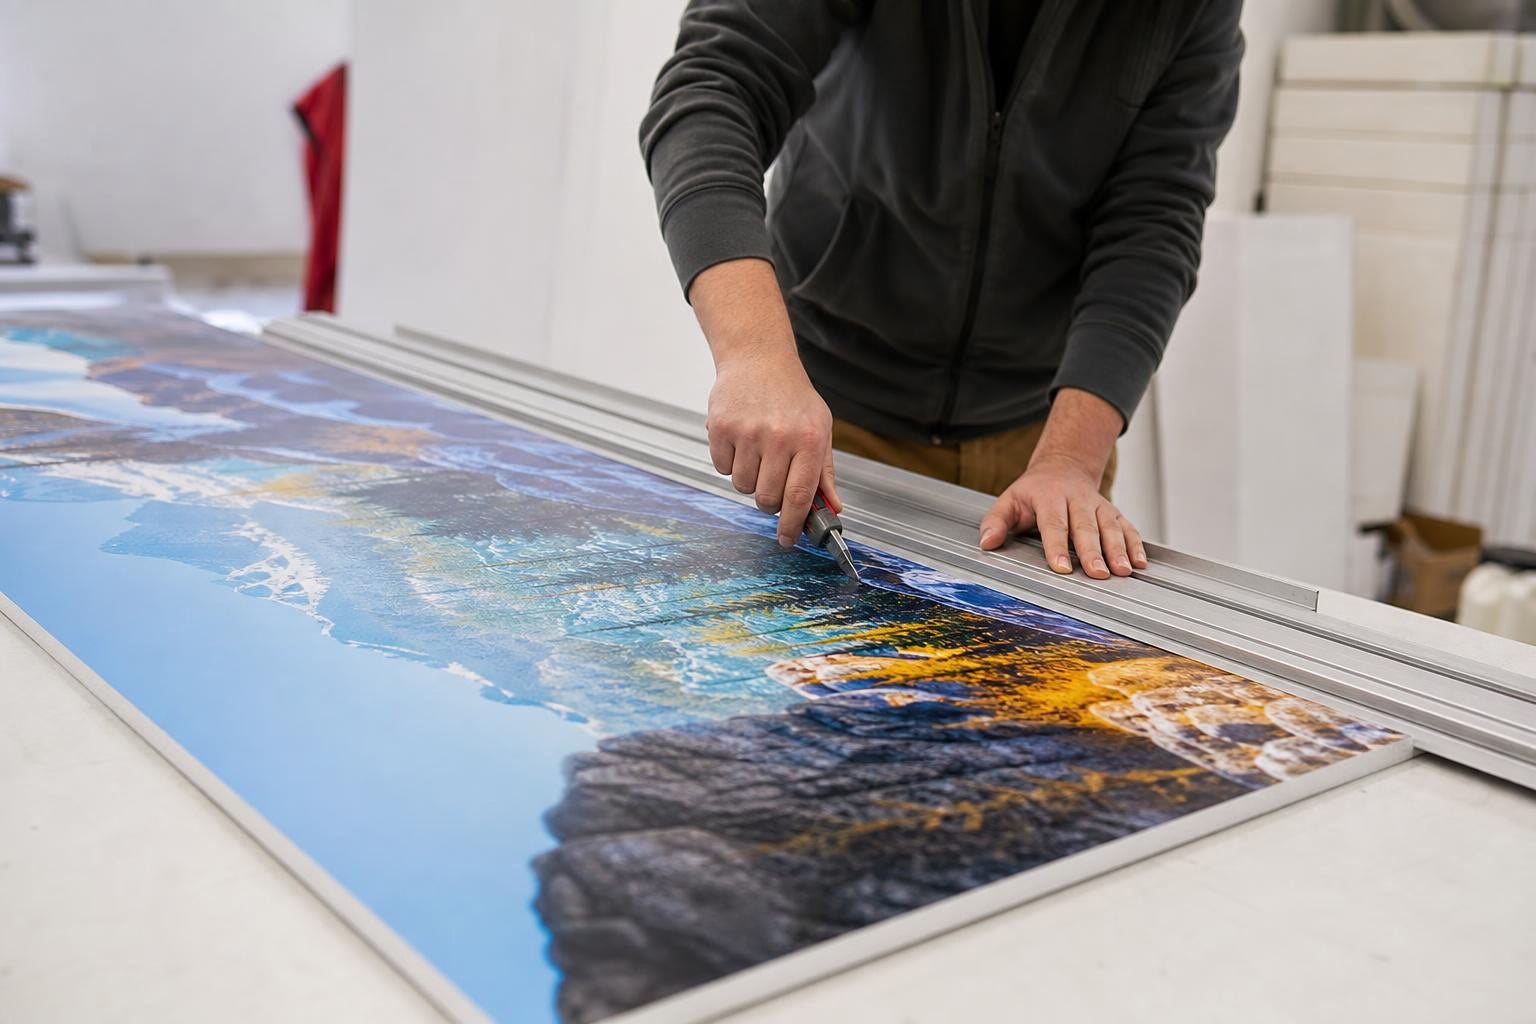
Bleed is the extra artwork that extends beyond the final cut edge of your foam board. It’s a buffer zone. You’re printing more image than you need so that when the board is trimmed to size, there’s no chance of a white strip appearing along any edge.
Think of it this way: if your finished board is 24" x 36", your artwork file needs to be slightly larger than 24" x 36" in every direction. That extra area is the bleed, and it gets cut off during production.
For foam board, the standard bleed is 0.125" (1/8") on each side. That means your file dimensions grow by 0.25" total in both width and height. A 24" x 36" board becomes a 24.25" x 36.25" document.
One critical point: bleed is not a white border. Practitioners on Reddit’s r/graphic_design forum frequently describe a common mistake where someone hears “add 3mm” and places a white border around their design. That white border will print. True bleed means you extend the actual background color, photo, or pattern beyond the trim line so the cutter has room to work.
Trim Line (Cut Line)
The trim line is exactly where the knife cuts. It defines the final dimensions of your foam board. After printing, the production team cuts along this line, and everything outside it (the bleed area) gets removed.
On a 24" x 36" foam board, the trim line is exactly 24" x 36". This is the size you ordered and the size you’ll receive.
Safe Zone (Safe Margin / Live Area)
The safe zone sits inside the trim line. It’s where all your important content belongs: text, logos, phone numbers, QR codes, faces in photos, anything you can’t afford to lose.
Even with perfect calibration, cutting machines have small tolerances. A fraction of a millimeter shift means the blade trims slightly inside your intended line. If your headline sits right at the trim edge, it might get clipped.
The standard safe zone is 0.125" to 0.25" inside the trim line. Some foam board printers recommend a more aggressive 0.50" safe margin, reflecting the realities of rigid-substrate cutting where tolerances run wider than paper printing. When in doubt, 0.25" is a solid middle ground.
The relationship, working from outside to inside: Bleed edge → Trim line → Safe zone. Everything outside the trim gets cut away. Everything inside the safe zone stays intact. The area between the trim and the safe zone is a danger zone for critical content.
Why Foam Board Artwork Needs Bleed and Safe Margins
Paper prints run through high-speed rollers. Foam board prints go through flatbed printers and CNC cutters that physically grip the substrate. As one industry resource explains, the printer “grabs” the edge of the substrate during printing and cutting, and even million-dollar machines aren’t printing to the millionth of an inch.
That physical reality creates two risks.
Risk 1: No bleed means white edges. If your artwork stops exactly at the intended cut line and the blade shifts even slightly, you get a thin white strip along one or more edges. On a dark background or a full-color photo, this is immediately visible and looks unprofessional. The only fix is a reprint.
Risk 2: No safe margin means clipped content. If your event title, company logo, or call-to-action text sits near the trim line and the cut shifts inward, you lose part of that content. A logo with a sliced-off bottom or a phone number missing its last digit defeats the purpose of the sign entirely.
These risks apply equally across all foam board thicknesses and types, from thin 1/8" presentation boards to heavy 1/2" display panels. The cutting process is the same regardless of material thickness.
Standard Measurements for Foam Board Printing
Here are the numbers that matter. These apply to the vast majority of foam board orders.
- Bleed: 0.125" (1/8") on each side, standard
- Safe margin: 0.25" minimum on each side (some printers recommend 0.50")
- Large format note: For boards larger than 18" x 24", some printers require 0.25" to 0.50" bleed on each side instead of 0.125"
Always confirm with your specific printer. Specifications vary between vendors, and sending a file with the wrong bleed can delay your order.
How to Calculate Bleed and Safe Zone: Step by Step
The formulas are straightforward.
Document size (with bleed):
- Width = Finish width + (2 × bleed)
- Height = Finish height + (2 × bleed)
Safe zone dimensions:
- Width = Finish width − (2 × safe margin)
- Height = Finish height − (2 × safe margin)
Worked Example: 24" x 36" Foam Board
Using 0.125" bleed and 0.25" safe margin:
- Document width: 24 + (2 × 0.125) = 24.25"
- Document height: 36 + (2 × 0.125) = 36.25"
- Safe zone width: 24 − (2 × 0.25) = 23.5"
- Safe zone height: 36 − (2 × 0.25) = 35.5"
Your file is 24.25" x 36.25". Your background and images fill every pixel of that space. Your text and logos stay within a centered 23.5" x 35.5" box.
Worked Example: 48" x 96" (4 ft x 8 ft) Foam Board
At this size, using 0.25" bleed (the safer choice for large format) and 0.50" safe margin:
- Document width: 48 + (2 × 0.25) = 48.5"
- Document height: 96 + (2 × 0.25) = 96.5"
- Safe zone width: 48 − (2 × 0.50) = 47"
- Safe zone height: 96 − (2 × 0.50) = 95"
Foam Board Size Reference Table
This table uses 0.125" bleed and 0.25" safe margin. For boards over 18" x 24", consider using 0.25" bleed instead and adjust accordingly.
| Finish Size | Document Size (with bleed) | Safe Zone (for text/logos) |
|---|---|---|
| 8" × 10" | 8.25" × 10.25" | 7.5" × 9.5" |
| 11" × 17" | 11.25" × 17.25" | 10.5" × 16.5" |
| 18" × 24" | 18.25" × 24.25" | 17.5" × 23.5" |
| 24" × 36" | 24.25" × 36.25" | 23.5" × 35.5" |
| 36" × 48" | 36.25" × 48.25" | 35.5" × 47.5" |
| 48" × 96" | 48.25" × 96.25" | 47.5" × 95.5" |
Bookmark this table. It saves time when setting up common foam board sizes and ensures your calculations are right before you submit a file.
How Finishing Options Affect Your Margins
This is where foam board diverges significantly from standard print advice. Finishing options like grommets, drill holes, and rounded corners physically alter the board’s edges and corners, and your layout needs to account for them.
Grommets
Grommets are metal rings punched through the foam board so you can hang it with hooks, zip ties, or wire. They’re commonly placed 0.75" on center from each corner of the board. The grommet itself has exterior dimensions of about 0.84", which means it covers a visible circle of material in each corner.
Practitioners on the Signs101 forum (a community of professional sign makers) note that standard grommets crush the foam board slightly around the insertion point. This compression affects how the print looks near the hardware.
The practical rule: When your board has grommets, keep all critical content at least 1" from the edges in the corners. Your standard safe margin handles the sides and top/bottom, but the corners need extra clearance. If your logo sits in the bottom-right corner, move it inward.
Drill Holes
Drill holes are smaller than grommets (about 0.25" exterior dimension) but follow similar placement logic, sitting 0.75" from the edge of the board at the selected location. The margin math works the same way: keep important design elements at least 1" from any edge that has a drill hole.
Rounded Corners
Rounded corners on foam board typically have a radius of 0.125" (1/8"). That doesn’t sound like much, but the rounding removes material from the corner area. The safe zone in each corner needs to increase to compensate.
The principle scales from other print products. For example, GotPrint recommends 0.325" bleed for business cards with round corners, well above the standard 0.125". For foam board, the same logic applies: if you choose rounded corners, increase your corner safe margin by at least an additional 0.125" beyond what you’d use for straight-cut boards.
Borders
If your design includes a decorative border (a colored frame around the edge), trim tolerances become very visible. Even a 1mm shift in the cut makes a border look uneven, thicker on one side than the other.
The safest approach: avoid thin borders entirely. If you must use one, make it thick (at least 0.5") and place it well inside the safe zone so that minor cutting shifts don’t create an obviously lopsided frame.
Setting Up Bleed in Common Design Software
Here’s how to configure bleed for foam board artwork in the tools most people actually use.
Adobe Illustrator
Create a new document and enter the final trim size (not the bleed size). In the Bleed section of the new document dialog, type 0.125" and click the chain icon to apply it evenly on all four sides. Illustrator will show a red outline beyond your artboard, marking the bleed area. Extend your background and images to fill that red boundary.
Adobe InDesign
When creating a new document, expand the “Bleed and Slug” section. InDesign defaults to picas, so type “0.125in” in the bleed fields and it will convert automatically. InDesign draws bleed guides in red, just like Illustrator.
Adobe Photoshop
Photoshop doesn’t offer built-in bleed settings the way Illustrator and InDesign do. Instead, create your canvas at the full document size (including bleed). For a 24" x 36" board, set your canvas to 24.25" x 36.25" at your target resolution. Then use guides placed 0.125" from each edge to mark the trim line, and additional guides 0.25" further inward to mark the safe zone.
Canva
If you’re using Canva Pro, create your design at the trim size, then hit Download, choose PDF Print, and check the box for “Crop marks and bleed.” Canva automatically adds a 0.125" bleed. Just make sure your background extends to fill the full canvas before exporting.
Don’t have design software? Use our free online editor to build your artwork with built-in guides for bleed and safe margins.
If you already have a file but need minor adjustments, our quick-edit tool lets you tweak things without starting from scratch.
Common Mistakes That Cause Reprints
Years of forum posts, printer FAQ pages, and production team feedback point to the same recurring errors. Here’s what to watch for.
1. Adding a white border instead of extending the background. This is the single most common mistake. The designer adds 0.125" of white space around the artwork, thinking that’s “bleed.” It’s not. Bleed means the actual design content (the photo, the color, the pattern) extends past the trim line. White space just prints as white.
2. Leaving crop marks inside the trim zone. Crop marks are thin guide lines that show where to cut. Most foam board printers ask you to omit them entirely. If they appear inside the trim area in your proof, they will print on the finished board. Remove them before uploading.
3. Placing text too close to the edge. A headline that looks fine on screen might be 0.1" from the trim line, well inside the danger zone. Always use your safe margin guides, not your eye, to check placement.
4. Submitting files in RGB instead of CMYK. Computer screens use RGB color. Printers use CMYK (Cyan, Magenta, Yellow, Black). If you submit an RGB file, your colors will shift during conversion, often becoming duller or darker than expected. Set your color mode to CMYK before you start designing, not after.
5. Low resolution at print size. A photo that looks sharp on a monitor at 72 PPI will look soft or pixelated printed at 24" x 36". Aim for at least 150 PPI at the final output size for boards viewed from a distance. For boards people will read up close (menus, courtroom exhibits, informational displays), 300 PPI is better.
6. Forgetting to account for finishing options. You designed a gorgeous board with important imagery in every corner, then selected grommets at checkout. Now there’s a metal ring punched through your logo. Plan your layout around finishing options from the start.
Pre-Submit File Checklist for Foam Board Printing
Run through this list before you upload. It takes two minutes and can save you days and dollars.
- ✅ Document dimensions include bleed (e.g., 24.25" x 36.25" for a 24" x 36" board)
- ✅ Background, photos, and colors extend fully to the bleed edge
- ✅ All text, logos, and critical content sit inside the safe zone (0.25" to 0.50" from trim)
- ✅ Color mode is CMYK (grayscale for black-and-white artwork)
- ✅ Resolution is at least 150 PPI at final size (300 PPI for close-viewing boards)
- ✅ All fonts are outlined or embedded in the file
- ✅ No crop marks inside the printable area (remove unless your printer specifically requests them)
- ✅ Finishing options (grommets, drill holes, rounded corners) accounted for in layout
- ✅ File saved as PDF, AI, or high-quality TIFF/PSD
Check your turnaround and delivery times before submitting so you know exactly when your boards will arrive.
Ready to print? Upload your file here and our team will manually review it, adjust if needed, and email you a visual proof before production starts.
Frequently Asked Questions
What is the standard bleed for foam board printing?
The standard bleed for foam board is 0.125" (1/8") on each side. This means your file should be 0.25" wider and 0.25" taller than the finished board size. For boards larger than 18" x 24", some printers request 0.25" or even 0.50" bleed per side.
How wide should the safe margin be on a foam board?
A minimum of 0.25" inside the trim line on all sides. Some foam board printers recommend 0.50" for extra safety, especially on large-format boards where cutting tolerances are wider. If your board has grommets or drill holes, increase the safe margin to at least 1" in the corners where hardware will be placed.
Do grommets affect where I place my design on foam board?
Yes. Grommets are typically placed 0.75" from each corner, and the grommet ring itself covers about 0.84" in diameter. Any artwork under the grommet will be hidden or damaged. Keep logos, text, and important visuals at least 1" from any corner where a grommet will go.
What happens if I don’t add bleed to my foam board file?
You’ll likely see a thin white strip along one or more edges of the finished board. This happens because the cutting blade shifts slightly during production. Without bleed, there’s no extra artwork to cover that shift.
Should I include crop marks on my foam board file?
Most foam board printers prefer files without crop marks. If crop marks appear inside the trim area, they will print on your finished board. Remove them before submitting unless your printer explicitly asks for them.
What resolution do I need for foam board printing?
At minimum, 150 PPI at the actual print size. For boards that viewers will see up close (under 3 feet), such as menu boards, courtroom exhibits, or informational displays, 300 PPI produces noticeably sharper results.
Can I use Canva to create foam board artwork with proper bleed?
Yes. Canva Pro lets you add bleed automatically. Design at your trim size, then choose PDF Print during download and check the “Crop marks and bleed” box. Canva adds 0.125" of bleed. Just make sure your background fills the entire canvas edge to edge before exporting.
How do rounded corners change my safe margin calculations?
Rounded corners remove a small arc of material from each corner (typically a 0.125" radius on foam board). This means the effective safe zone in the corners is smaller than on the straight edges. Increase your corner safe margin by an additional 0.125" or more to compensate.


