

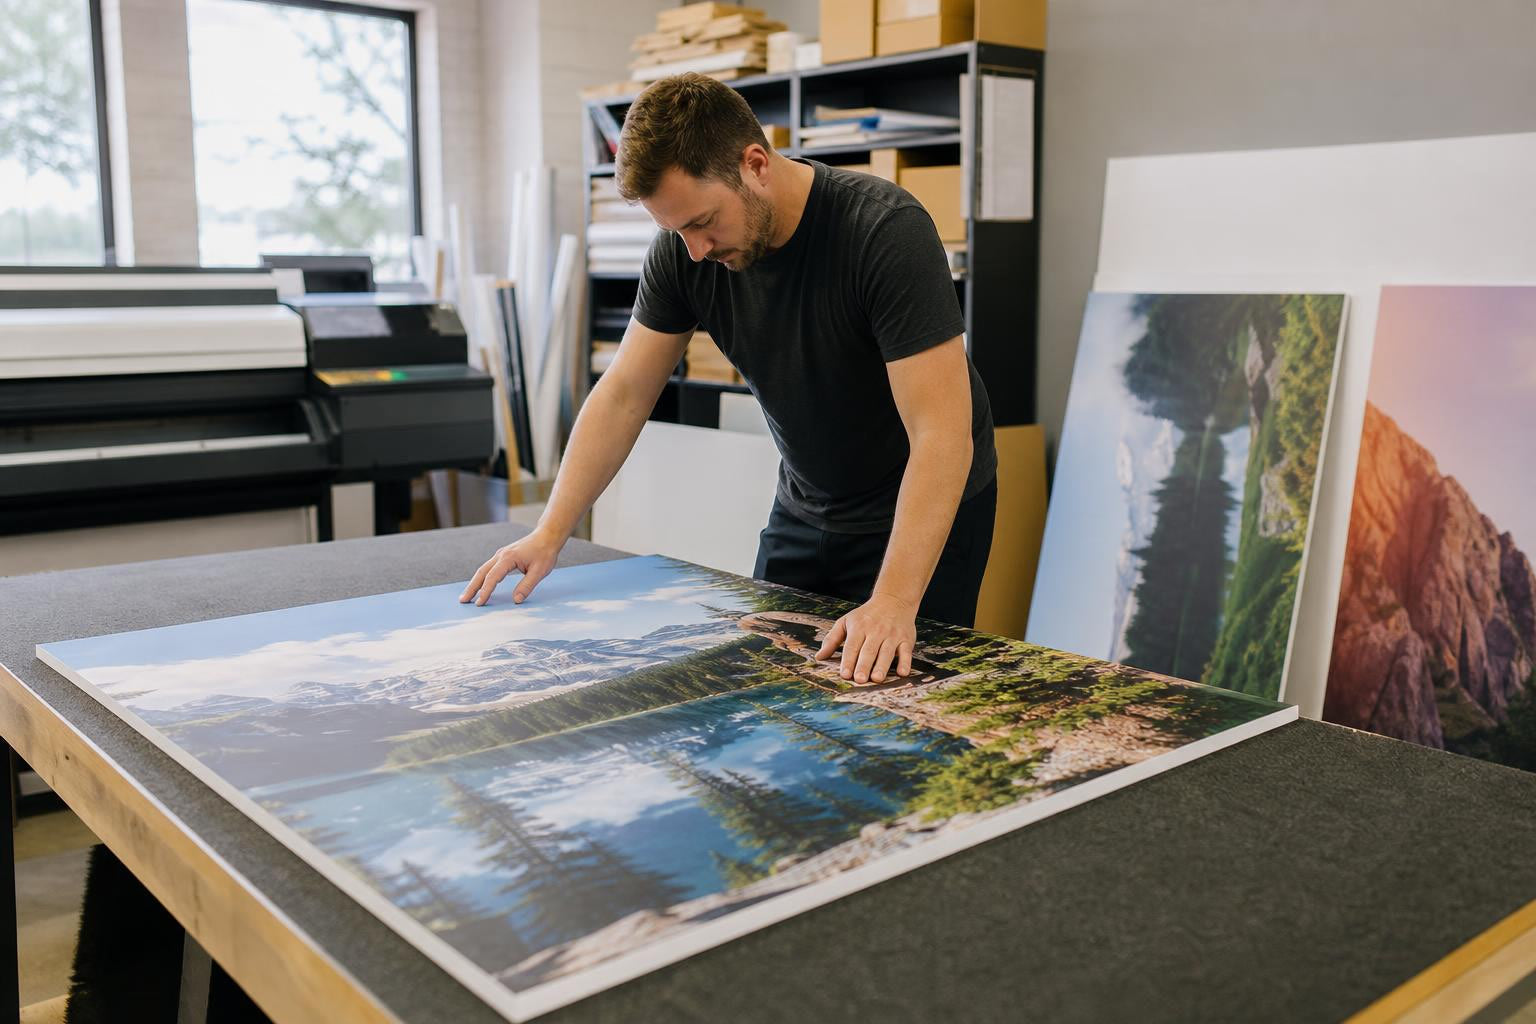
TL;DR
You don’t need 300 DPI for every foam board print. For boards 24×36 inches and larger, 150 to 200 DPI produces sharp results because viewers stand several feet away. Set your file to CMYK color mode, add 1/8-inch bleed on all sides, keep critical content at least 1/4 inch from the trim edge, and export as a PDF. This guide covers every term and setting you need to get your foam board print right on the first try.
Preparing artwork for a large foam board print is not the same as setting up a business card or a flyer. The rules change when your print measures two, three, or even eight feet across. Resolution requirements drop, file sizes balloon, and color settings that work fine on screen can produce disappointing results on a physical board.
This guide covers the recommended DPI and file setup for large foam board prints in practical terms, with specific numbers for common sizes. Whether you’re designing a trade show display, a courtroom exhibit, or a retail sign, every setting covered here applies directly to foam board production.
If you’re new to this material, it helps to understand foam board types and thicknesses before diving into file specifications.
Ready to upload artwork you’ve already prepared? Submit your files here and get a visual proof before anything prints.
DPI (Dots Per Inch): What It Means and What Foam Board Actually Requires
DPI stands for dots per inch, and it describes how many ink dots a printer lays down per linear inch on a physical surface. The higher the DPI, the finer the detail. For small prints held at arm’s length (business cards, postcards, brochures), 300 DPI is the standard because your eyes are close enough to resolve that level of detail.
Foam board prints are different. A 36×48-inch board at a trade show gets viewed from five to ten feet away. At that distance, the human eye cannot distinguish between 150 DPI and 300 DPI. The extra resolution just creates a massive file that’s harder to upload and process without any visible payoff.
Here’s what the industry actually recommends. For large format prints, a DPI range of 150 to 300 is generally recommended, depending on viewing distance and print size. GotPrint, a major online printer, sets its minimum at 150 DPI specifically for signs and foam boards because most signs are viewed from several feet away.
Recommended DPI by Foam Board Size
| Foam Board Size | Typical Viewing Distance | Recommended DPI |
|---|---|---|
| Up to 18×24" | 2 to 4 feet | 200 to 300 DPI |
| 24×36" | 3 to 6 feet | 150 to 200 DPI |
| 36×48" | 5 to 10 feet | 150 DPI |
| 48×96" (4×8 ft) | 8 to 15+ feet | 100 to 150 DPI |
One important caveat: if your design uses vector elements (logos, text, solid shapes), those are resolution-independent. A vector PDF will print crisply at any size regardless of DPI settings. The DPI concern applies primarily to photographs and raster graphics within your design.
PPI vs. DPI: A Quick Clarification
Most people use DPI and PPI interchangeably, and most design software does too. Technically, they refer to different things. PPI (pixels per inch) describes the pixel density of your digital file. DPI describes the ink dot density of the physical print. PPI is what your file has; DPI is what the printer produces.
For practical purposes when setting up foam board artwork, you can treat these terms as synonymous. When a print shop asks for “150 DPI,” they mean your file should contain 150 pixels per inch at the final print size. This guide uses DPI since that’s what customers and printers actually say.
Resolution: The Pixel Dimensions Your File Needs
Resolution isn’t just about DPI. It’s about the total number of pixels in your image. A file that’s 1,000 pixels wide cannot produce a sharp 36-inch-wide print no matter what DPI you assign to it, because those 1,000 pixels would be stretched across 36 inches, yielding roughly 28 pixels per inch. That’s billboard territory, not foam board territory.
Here’s the math that matters. Multiply your print dimensions (in inches) by your target DPI to get the required pixel dimensions.
Pixel Dimension Quick-Reference for Common Foam Board Sizes
| Board Size | At 150 DPI | At 200 DPI | At 300 DPI |
|---|---|---|---|
| 18×24" | 2,700 × 3,600 px | 3,600 × 4,800 px | 5,400 × 7,200 px |
| 24×36" | 3,600 × 5,400 px | 4,800 × 7,200 px | 7,200 × 10,800 px |
| 36×48" | 5,400 × 7,200 px | 7,200 × 9,600 px | 10,800 × 14,400 px |
| 48×96" (4×8 ft) | 7,200 × 14,400 px | 9,600 × 19,200 px | 14,400 × 28,800 px |
Notice the file size implications. At 300 DPI, a 4×8-foot board requires roughly 415 megapixels. At 150 DPI, it drops to about 104 megapixels, a file that’s manageable and visually identical at normal viewing distances. This is why the recommended DPI for large foam board prints drops as the board gets bigger.
You cannot fix a low-resolution file by simply changing its DPI setting in Photoshop. Resampling a 72 DPI image up to 300 DPI adds pixels through interpolation, but those new pixels are guesswork. The detail isn’t there. Start with the right resolution from the beginning.
Viewing Distance: The Variable That Matters Most
Viewing distance is the single biggest factor in determining what DPI your foam board actually needs. There’s a formula for this: the maximum visible PPI equals 6,878 divided by the viewing distance in inches. Beyond that threshold, your eyes physically cannot resolve additional detail.
At 3 feet (36 inches), the limit is about 191 PPI. At 6 feet, it drops to about 95 PPI. At 10 feet, just 69 PPI.
This is why 150 DPI works perfectly for most foam boards. A 24×36-inch board on an easel at a trade show, viewed from four to six feet, will look sharp at 150 DPI. A courtroom exhibit board held three feet from a jury box might benefit from 200 DPI. A retail wall display viewed from across a store floor could get away with 100 DPI.
Matching DPI to Foam Board Use Cases
- Courtroom easel display (3 to 4 feet): 200 to 300 DPI
- Trade show booth graphic (5 to 8 feet): 150 DPI
- Retail wall signage (8 to 15 feet): 100 to 150 DPI
- Event backdrop (10+ feet): 100 DPI
Practitioners on Reddit’s r/graphic_design subreddit regularly discuss this confusion. Even experienced designers instinctively default to 300 DPI for everything, then struggle with enormous file sizes for large-format work. The viewing distance math shows why that instinct, while well-intentioned, wastes time and disk space for foam board applications.
If you’re unsure which settings suit your project, reach out to the team for guidance before you finalize your file.
File Format: What to Send and Why It Matters
The format you save your file in affects print quality, color accuracy, and whether your text stays crisp. Not all formats are equal for foam board printing.
Format Rankings for Foam Board Prints
1. PDF (vector or composite)
The best all-around format. A vector PDF preserves sharp text and logos at any size, embeds fonts, and can contain both vector elements and raster images in one file. PDF is the preferred format at most commercial print shops, and it’s universally accepted.
2. AI (Adobe Illustrator)
Great for Illustrator users. Outline all fonts before saving to prevent text substitution issues.
3. TIFF
The best raster format for photographic work. TIFF uses lossless compression, so your image quality doesn’t degrade each time you save.
4. PNG
Acceptable for raster work and preserves transparency. Larger file sizes than JPEG but no compression artifacts.
5. JPEG
Last resort. JPEG uses lossy compression, meaning every save degrades quality. A JPEG that’s been opened and resaved several times may show visible artifacts, especially in areas with solid color or text. If JPEG is your only option, save at maximum quality and avoid multiple save cycles.
Tips for Canva and Procreate Users
Many foam board buyers (event planners, teachers, small business owners) use Canva rather than Adobe software. When exporting from Canva for foam board printing, choose “PDF Print” rather than “PDF Standard” or any image format. This gives you the highest quality export Canva offers.
Procreate users face a specific trap. Procreate defaults to 132 DPI, which is fine for digital sharing but terrible for printing. Even if you open the file in Photoshop and change it to 300 DPI later, the original pixel data was created at 132 DPI. The extra detail doesn’t exist. If you’re creating artwork in Procreate that will end up on a foam board, set your canvas to the correct pixel dimensions from the start using the table above.
If you have a design that just needs minor adjustments, you can make quick edits online before submitting.
CMYK Color Mode: The Only Way to Print Accurately
CMYK stands for Cyan, Magenta, Yellow, and Black, the four ink colors used in standard commercial printing. Your file should be in CMYK color mode before it goes to any print shop. This is non-negotiable for accurate color reproduction on foam board.
Why? Printers physically mix these four inks to create every color in your print. If your file is in RGB (the color mode screens use), the printer or its software has to convert those colors on the fly. That conversion often produces unwanted color shifts or dull results. A vibrant electric blue on your monitor might print as a muted steel blue. A bright fluorescent green can come out as a dull olive.
How to Convert to CMYK
- Photoshop: Image > Mode > CMYK Color
- Illustrator: File > Document Color Mode > CMYK Color
- Canva: Canva Pro users can select CMYK under download settings. Free Canva users are stuck with RGB, which is another reason to consider using the online design editor for print-ready output.
- InDesign: Set your document to CMYK from the start under Edit > Color Settings
After converting, check your design carefully. Colors that shift the most include neon greens, bright oranges, and vivid purples, all colors that exist in RGB’s wider gamut but fall outside what CMYK inks can reproduce.
Color Gamut and How Lamination Affects Appearance
Color gamut is the total range of colors a system can reproduce. RGB has a wider gamut than CMYK, which is why certain screen colors can’t be matched exactly in print. This isn’t a flaw in your printer; it’s physics. Inks absorb and reflect light differently than pixels emit it.
Lamination choice also affects how colors appear on your finished foam board. Gloss lamination boosts perceived vibrancy and contrast, making colors pop. Matte lamination reduces glare (ideal for courtroom exhibits or photography displays) but can make colors appear slightly softer. Dry-erase lamination adds a functional writeable surface but comes with a slight sheen.
If color accuracy matters for your project (brand signage, product photography), factor your lamination choice into your expectations. A matte-laminated board will look different from a glossy one even with identical files.
Bleed: Why Your File Should Be Slightly Oversized
Bleed is the extra artwork that extends beyond the final trim line of your foam board. The standard bleed for foam board printing is 1/8 inch (0.125 inches) on each side.
Why does this matter? After printing, the board is cut to its final size. If your design runs right to the edge (a colored background, a photo, a pattern), even a tiny shift during cutting could leave a white sliver along one edge. The bleed area gives the cutter room for that tolerance.
The math is straightforward. If you’re printing a 24×36-inch foam board with bleed, your file dimensions should be 24.25×36.25 inches. That accounts for 0.125 inches added to each of the four sides.
If your design has a white border or doesn’t extend to the edges, bleed is less critical. But it’s good practice to include it regardless.
Safe Zone and Safety Margin
The safe zone is the interior boundary where all critical content (text, logos, key images) should remain. Anything between the safe zone and the trim line risks being partially cut off or sitting uncomfortably close to the edge.
The minimum safe zone is 0.25 inches (1/4 inch) inside the trim line on all sides. Some printers recommend 0.5 inches for large-format work, giving more breathing room.
For foam boards with finishing options like rounded corners or drilled holes, push critical content even further from the corners and edges. A rounded corner removes a small triangle of material, and a drilled hole takes out a circle. If your logo sits in the corner, part of it could get clipped.
To plan production timelines for your event or display, check delivery estimates before finalizing your design schedule.
Trim Line, Bleed Area, and Live Area
Three zones define your layout:
Trim line: The exact dimensions of your finished foam board. This is where the cut happens. A 24×36-inch order gets cut at exactly 24×36 inches.
Bleed area: Everything between the trim line and the outer edge of your file. This is your 1/8-inch insurance zone. It will be printed but cut away.
Live area: Everything inside the safe zone. This is where your text, logos, and important visuals belong. Think of it as the guaranteed-visible portion of your design.
Set up guides in your design software to mark all three zones before you start placing content. In Illustrator, InDesign, or Photoshop, these guides take thirty seconds to create and prevent hours of frustration later.
Vector vs. Raster: Why It Matters for Large Foam Boards
Vector files (AI, EPS, vector PDF) are built from mathematical equations that define shapes, curves, and colors. They scale to any size without losing quality. Vector files will always print at maximum sharpness at any scale, which makes them ideal for logos, text, icons, and geometric designs.
Raster files (TIFF, PNG, JPEG, PSD) are built from pixels. They have a fixed resolution. Enlarge a raster image beyond its native resolution and it gets blurry. This is why a logo pulled from a website (typically 72 PPI and a few hundred pixels wide) won’t work for a 4-foot foam board.
Best practice for foam board file setup: keep text and logos as vector elements, and use high-resolution raster images for photographs. A PDF can contain both, which is one reason it’s the preferred format.
Embedded Fonts: Preventing Text Disasters
If your file contains text and the print shop’s system doesn’t have your fonts installed, the text may reflow, substitute a different font, or disappear entirely. Two ways to prevent this:
Outline your fonts. In Illustrator, select all text and go to Type > Create Outlines. This converts text to vector shapes, eliminating font dependency entirely. The downside: you can no longer edit the text.
Embed fonts in your PDF. When exporting a PDF from InDesign or Illustrator, check the option to embed all fonts. This packages the font data inside the file so it renders correctly on any system.
Either approach works. Outlining is more reliable if you’re sending a final file with no anticipated edits.
Image Upscaling: Why “Just Make It Bigger” Fails
A common mistake: downloading a 500-pixel-wide image from Google, dragging it onto a 36-inch-wide canvas, and expecting it to print clearly. That 500-pixel image would render at about 14 pixels per inch at 36 inches. The result is a blocky, blurry mess.
Changing the DPI setting in Photoshop without resampling just changes the metadata label. The actual pixel data stays the same. Resampling upward adds interpolated pixels, but no export setting will restore missing detail.
AI upscaling tools (Topaz, Let’s Enhance) can help in some situations, particularly with photos, by intelligently generating plausible detail. But they’re a partial fix, not a substitute for starting with the right resolution. Always try to source or create images at the correct pixel dimensions from the outset.
Double-Sided Foam Board File Setup
For hanging foam boards (ceiling signs, aisle markers, window displays), both sides are visible and need independent artwork. Each side is a separate print file with its own bleed, safe zone, and color specifications.
Keep in mind that the two sides are mirror images spatially. If your front design has a logo on the left, the back design should account for the flip. Most printers will handle the orientation alignment, but label your files clearly (Front and Back) to avoid confusion.
File Size Management for Large Boards
A 4×8-foot file at 300 DPI produces a file around 1.2 GB or more in uncompressed TIFF format. That’s often overkill. At 150 DPI, the same board produces a much more manageable file with no visible quality difference at normal viewing distances.
Higher resolution means larger file sizes, longer upload times, and more storage. If your file exceeds your internet connection’s patience, dropping from 300 to 150 DPI for a large board is a smart, quality-neutral tradeoff.
When saving TIFF files, use LZW compression to reduce file size without losing quality. For PDFs, avoid downsampling images below your target DPI during the export process.
How Manual Preflight Review Catches Setup Errors
Even with perfect preparation, mistakes slip through. A font that wasn’t outlined, an RGB file that didn’t get converted, a bleed that’s a few pixels short. Automated systems at many online printers won’t catch these issues, or they’ll reject the file with a cryptic error message.
Foam Board Print Shop manually reviews every file and emails a visual proof before printing, giving you a chance to catch problems before they become expensive ones. This is particularly valuable for first-time large-format orders where the recommended DPI and file setup for large foam board prints might feel unfamiliar. Learn more about the team and process behind that review.
Complete File Setup Checklist for Foam Board Prints
Before uploading, run through this list:
- [ ] DPI set to 150 to 300 depending on board size (see table above)
- [ ] Pixel dimensions match your target DPI at full print size
- [ ] Color mode set to CMYK
- [ ] File format is PDF (preferred), TIFF, or high-quality PNG
- [ ] Bleed of 1/8 inch added on all sides
- [ ] Critical content stays at least 1/4 inch inside the trim line
- [ ] Fonts are outlined or embedded
- [ ] Images are high-resolution originals, not upscaled web graphics
- [ ] Double-sided orders include separately labeled front and back files
- [ ] File size is reasonable (drop DPI before compressing quality)
Once everything checks out, upload your print-ready file to get started.
Frequently Asked Questions
Do I really need 300 DPI for a large foam board print?
Not usually. For foam boards 24×36 inches and larger, 150 to 200 DPI produces results that look sharp at typical viewing distances. 300 DPI is only necessary for small boards (under 18×24 inches) viewed up close, or for designs with extremely fine detail. Going higher than needed just inflates your file size.
What file format is best for foam board printing?
A vector PDF is the best all-around choice. It keeps text and logos crisp at any size, embeds fonts, and is accepted by virtually every print shop. For photo-heavy designs, TIFF is the best raster option because it uses lossless compression.
My design was made in Canva. How do I export it for foam board printing?
Export as “PDF Print” to get the highest quality output Canva offers. If you have Canva Pro, enable the CMYK color profile option before downloading. If you’re on the free plan and need CMYK output, consider using an online design editor built for print.
What happens if I submit an RGB file instead of CMYK?
The colors may shift during the conversion that happens at the printer. Bright blues, neon greens, and vivid purples are the most affected. The print won’t be ruined, but it may look noticeably different from what you see on screen. Converting to CMYK yourself gives you control over how those shifts are handled.
How much bleed should I add to my foam board file?
Add 1/8 inch (0.125 inches) to each side. For a 24×36-inch board, that makes your total file dimensions 24.25×36.25 inches. This prevents white edges from appearing if the cut shifts slightly during production.
Can I use a web image or screenshot for my foam board print?
Almost certainly not at large sizes. Web images are typically 72 to 96 PPI and a few hundred pixels wide, far too low for a foam board. You’d need the original high-resolution source file. AI upscalers can sometimes salvage low-res photos, but they’re not a reliable substitute for proper source files.
What’s the maximum size foam board I can print?
Foam Board Print Shop prints custom sizes up to 4 feet by 8 feet. At that size, 100 to 150 DPI is the recommended range because viewing distances are typically eight feet or more.
What if I’m not sure my file is set up correctly?
Every order gets a manual file review and a visual proof emailed before printing. If something is off, the team will flag it. You can also contact support directly before ordering if you want a second opinion on your file setup.


